
How to Set Up IPTV on Dreamlink T1, T1+, T2, T6
Set Up IPTV on Dreamlink T1, T1+, T2, T6
Set Up IPTV on Dreamlink: Getting your Dreamlink box up and running doesn’t have to be complicated. These Android-based set-top boxes are popular choices for streaming live TV, movies, and on-demand content through your IPTV subscription, and the setup process is actually pretty straightforward once you know the steps. Whether you’ve just unboxed your Dreamlink T1, T1+, T2, or T6, this guide will walk you through everything you need to get started watching your favorite channels within minutes.


The Dreamlink series offers solid hardware for IPTV streaming, with features like 4K support, dual-band WiFi (especially on the T2 model), and built-in apps like DreamOnline (DOL2) that make configuration simpler than you’d expect. You’ll need an active IPTV service subscription and about 15 minutes to complete the initial setup.
What You’ll Need Before Starting
Before diving into the setup process, gather a few essentials. You’ll need an HDMI cable to connect your Dreamlink device to your TV—most boxes come with one included in the package. An Ethernet cable is highly recommended for the most stable connection, though WiFi works too if you’re using the T2 or T6 models with built-in wireless.
Your IPTV service provider should have sent you a portal URL, which is basically the web address that connects your box to their streaming servers. You’ll also need the MAC address from your Dreamlink device, which some providers require for activation. Make sure your internet router is nearby and that you’ve got decent bandwidth—HD and 4K streaming can be demanding on slower connections.
. Fast Tutorial to Set Up Set Up IPTV on Dreamlink .
This tutorial will guide you through the simple setup instruction for Dreamlink T1, T1+, T2, T6.
Obtaining MAC address from the device:
- Let the STB Boot Up.
- Finish any update that it may find.
- It will bring you to the ‘Server menu’.
- Press the ‘Exit’ button on the remote control and click on ‘OK’.
- This will bring you to the main DOL screen, the ‘MAC address’ is in the upper right corner.
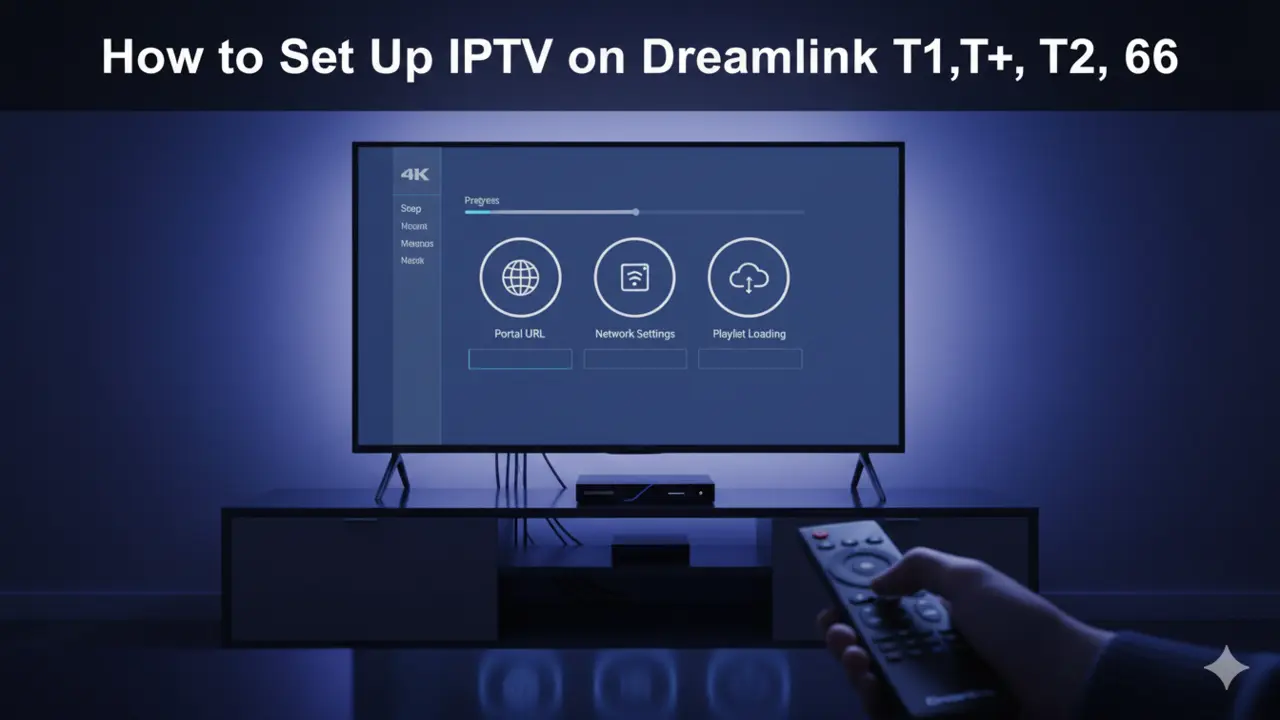
Dreamlink T1, T1+, T2, T6 Setup Instructions:
- In ‘Dreamlink On Line (DOL) go to ‘Settings’.
- Press the ‘Green’ button on your remote control to pull up the ‘Edit’ option.
- Enter your ‘Portal name’ (use for example: ‘IPTV Shop’).
- enter your ‘Portal URL’ (Check your activation e-mail).
- Confirm, restart ‘Dreamlink’ and start watching.
Troubleshooting Dreamlink T1, T1+, T2, T6
If you have any problems viewing the Channels please follow this recommended fix:
Restart your Dreamlink and Wi-Fi Router.
. Complete Guide to to Set Up Set Up IPTV on Dreamlink .
Get started quickly with this complete guide to set up IPTV on your Dreamlink device, showing you exactly how to load your portal, activate your service, and start watching in minutes.
Physical Connections and Initial Boot
Start by connecting one end of your HDMI cable to the back of your Dreamlink device and the other end to an available HDMI port on your TV. If you’re going with a wired connection (which is what most experienced users recommend), plug your Ethernet cable into both the Dreamlink box and your router.
Plug in the power adapter and connect it to your device. Press the power button on your Dreamlink remote to turn everything on. Switch your TV to the correct HDMI input channel where you’ve connected the box—you should see the Dreamlink boot screen appear. The first boot might take a minute or two as the system initializes, so don’t panic if there’s a slight delay.
Accessing Network Settings
Once your device powers up completely, you’ll need to configure your network connection. Grab your Dreamlink remote and press the “Menu” button to bring up the settings menu. Navigate to “Settings” using the arrow keys and press OK, then select “Network Settings” and press OK again.
Under “Network Configuration,” you’ll want to select “Ethernet DHCP” if you’re using a wired connection, or choose your WiFi network if you’re going wireless. Select “Auto DHCP” and press OK to let your router automatically assign an IP address. For DNS settings, choose “Auto DNS” and press OK—this ensures your device can properly resolve internet addresses without manual configuration.
Finding Your MAC Address
The MAC address is essentially your device’s unique identifier, and some IPTV providers need it to activate your subscription. To find it, exit the settings menu and navigate to “My Apps” from the main screen. Open the DreamOnline app (often labeled as DOL2).
You’ll see your MAC address displayed in the top right corner of the DOL screen. It’ll look something like “00:1A:79:XX:XX:XX”—write this down or take a photo with your phone. If your IPTV provider requires MAC registration, you’ll need to add this to your account dashboard or email it to their support team before proceeding.
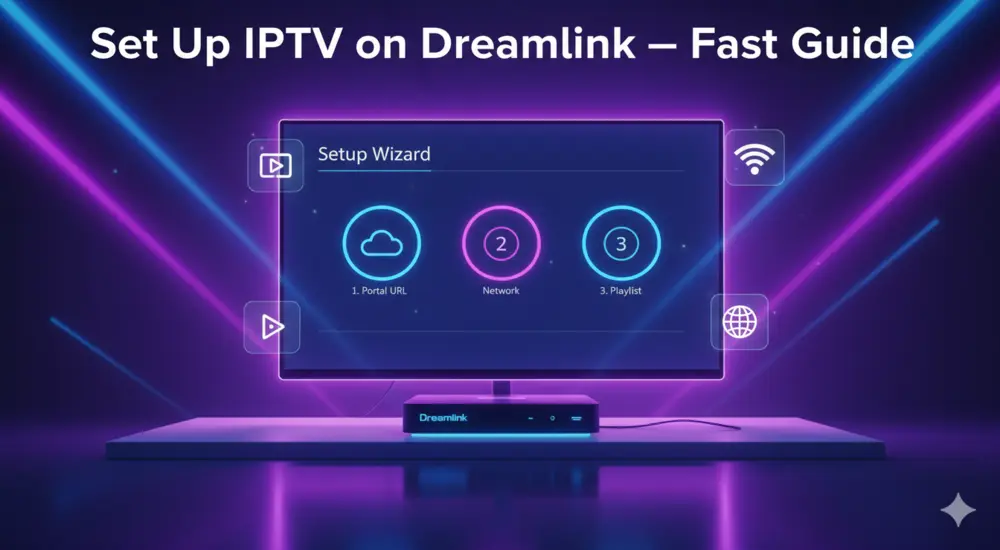
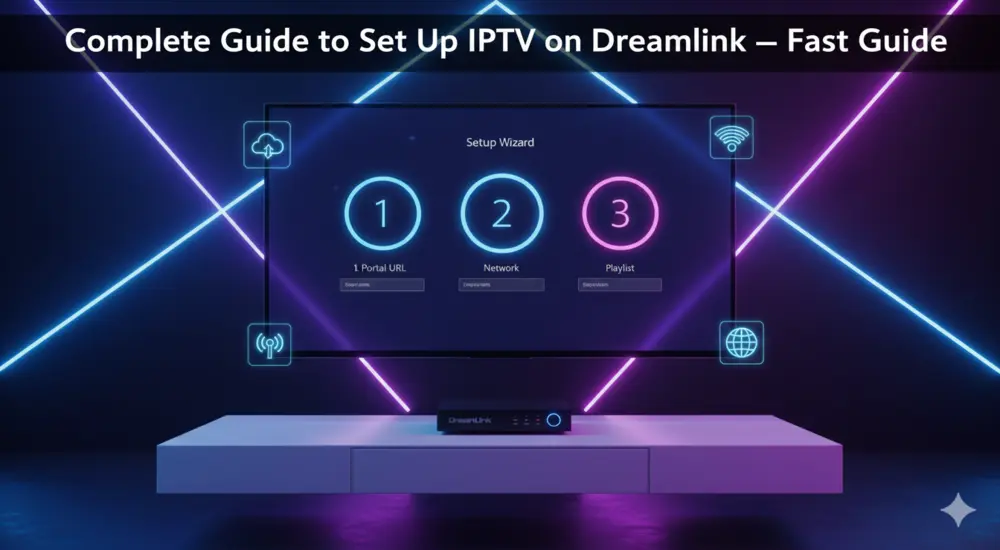
Configuring the Portal URL
This is where your Dreamlink device actually connects to your IPTV service. From the DreamOnline (DOL2) app, navigate to “Settings”. Press the green button on your remote control to access the “Edit” option. Some models might show “Edit Service” or “Click Edit” instead, but it’s the same function.
Now you’ll enter your service details. In the “Portal Name” or “Service Nickname” field, type whatever name you want to identify this service—something like “My IPTV” or your provider’s name works fine. In the “Portal URL” field, carefully enter the exact URL your IPTV provider gave you. This typically starts with “http://” or “https://” and is case-sensitive, so double-check you’ve typed it correctly.
For the “Certificate,” “User ID,” and “User Password” fields, you can usually leave these blank or unchecked unless your provider specifically told you otherwise. Most IPTV subscriptions don’t require these additional authentication fields.
Connecting to Your IPTV Service
Once you’ve entered your portal information, select “OK” to save your settings. Now press the red button on your remote to initiate the connection. Your Dreamlink device will attempt to connect to the IPTV server using the portal URL you provided.
You should see a connection progress screen—this might take anywhere from a few seconds to about a minute depending on your internet speed and the server. If everything’s configured correctly, you’ll get a confirmation message indicating successful connection, and your channel list will start loading. At this point, all the channels associated with your IPTV subscription should populate in your guide.
Starting to Watch Content
With your connection established, you’re ready to start streaming. Exit back to the main menu if you’re not already there, and select “Live TV”. You’ll see your available channels organized by category—sports, movies, news, international content, and so on depending on what your subscription includes.
Browse through the channel list using the arrow keys on your remote, and press OK to start watching any channel. Most Dreamlink boxes support electronic program guides (EPG), which means you’ll see what’s currently playing and what’s coming up next on each channel. Some IPTV services also offer catch-up TV features that let you watch shows from earlier in the day.
Troubleshooting Common Issues
If you’re having trouble connecting or channels won’t load, start with the basics. Restart both your WiFi router and your Dreamlink device—power them completely off, wait about 30 seconds, then turn them back on. This resolves connection issues surprisingly often.
Check that your portal URL is entered exactly as your provider sent it, with no extra spaces or typos. If you’re still stuck, verify that your IPTV subscription is actually active and that you’ve registered the correct MAC address if required. Some providers need you to activate the service through their website or customer portal before it’ll work on your device.
Buffering or freezing during playback usually points to internet speed problems rather than device configuration. IPTV streaming, especially in HD or 4K, needs consistent bandwidth. Try switching from WiFi to a wired Ethernet connection if possible, or contact your internet provider if speeds seem consistently slow.
Alternative Setup Methods
While the DOL2 app is the standard setup method for Dreamlink devices, you’ve got other options too. Some users prefer installing third-party IPTV apps like MyTVOnline 2 from the Google Play Store. These apps often support multiple input methods—you can load your channels using an M3U playlist URL or configure with Xtream Codes API credentials if your provider offers those.
To use this method, open the Google Play Store on your Dreamlink box, search for your preferred IPTV app, and install it. Launch the app and choose either “Login with Xtream Codes API” or “Load M3U Playlist”. For Xtream Codes, enter the server URL, username, and password your provider gave you. For M3U playlists, simply paste the M3U URL into the app and let it load your channels.
Understanding Your IPTV Subscription
Your Dreamlink box is just the hardware—the actual content comes from your IPTV service subscription. Quality IPTV providers typically offer thousands of live channels, extensive video-on-demand libraries, and features like multi-device support. Subscription prices generally range from around $10 to $20 per month for standard packages, though premium options with more channels or better quality can cost more.
When choosing an IPTV service, look for providers with strong server uptime (99.9% or better), anti-freeze technology to prevent buffering, and responsive customer support. Many legitimate services offer trial periods or money-back guarantees, which let you test the quality before committing to a long-term subscription. Support for features like EPG, catch-up TV, and multiple device connections adds significant value to your streaming experience.