
How to Set Up IPTV on a MAG Box 250/254/256
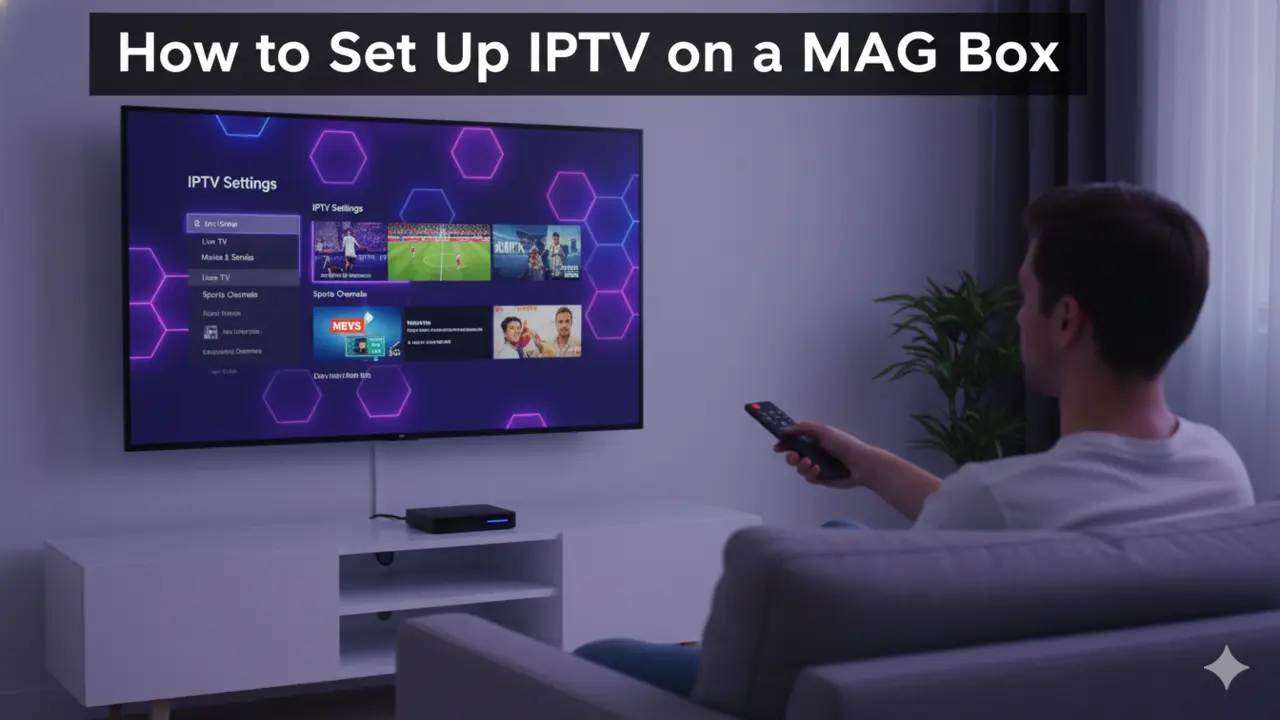
How to Set Up IPTV on a MAG Box
Setting up IPTV on a MAG box is surprisingly straightforward once you know the steps. These specialized devices from Infomir have become the go-to choice for IPTV enthusiasts, and for good reason—they’re built specifically for streaming live television over the internet.


MAG boxes, particularly the 250, 254, and 256 models, offer a dedicated IPTV experience that’s hard to beat. Unlike generic Android boxes that try to do everything, these devices focus on one thing and do it exceptionally well. If you’ve just unboxed your MAG device and you’re wondering how to actually get channels loading, this guide will walk you through every detail.
What Makes MAG Boxes Different
Before we jump into the setup process, it’s worth understanding what sets MAG boxes apart from other streaming devices. These units run on Linux-based firmware and come pre-loaded with Stalker middleware, which connects seamlessly to IPTV servers. That’s fancy tech-speak for saying they’re purpose-built for this exact job.
The interface is clean and simple—no bloatware, no unnecessary apps, just a straightforward menu system designed for watching TV. You get features like channel zapping (quick switching between channels), an Electronic Program Guide that shows what’s playing now and coming up next, and support for 4K streaming on compatible models.
What you won’t get is the versatility of an Android box. You can’t really install random apps or play games on a MAG device. But if your primary goal is reliable IPTV streaming without complications, that focused approach is actually an advantage.
. Fast Tutorial to Set Up IPTV on a MAG Box .
Connect MAG DEVICE to TV and Internet. Then do as follows
- Go to: Settings—> System Settings —> Servers—>Portals
- Set Portal 1: IPTV Shop
- Set Portal 1 URL ( see your E-mail )
- Set Portal 2 Name leave this empty add this only If you order the second subscription
- Set Portal 2 URL leave this empty add this only If you order the second subscription
- Save everything
- Reboot device
- After the box is restarted, wait until the TV screen shows the channels.
. Complete Guide to Set Up IPTV on a MAG Box .
Getting Your MAC Address Ready
Here’s something critical that trips up a lot of newcomers: you can’t just plug in your MAG box and start watching. Every MAG device has a unique MAC address—basically a hardware fingerprint—that your IPTV provider needs to activate your service.
This MAC address isn’t the same as your home network’s MAC address or your router’s identifier. It’s specific to your MAG box and always starts with “00:1A:79” followed by six more characters unique to your device. You’ll find it printed on a sticker on the bottom of your box.
Most IPTV providers require you to submit this MAC address when you sign up or shortly after purchasing your subscription. They’ll register it on their servers, and only then will your device be authorized to connect to their portal. Some providers give you access to a customer dashboard where you can enter the MAC address yourself, while others handle the activation manually.
Don’t skip this step. If you try to set up IPTV on a MAG box without getting your MAC address activated first, you’ll just see error messages or login prompts that don’t actually accept any credentials.
Initial Connection and Setup
Once you’ve got confirmation that your MAC address is activated, you’re ready to physically set up the device. Connect your MAG box to your television using an HDMI cable—make sure you’re plugging into an HDMI port on your TV, not component or composite inputs.
Plug in the power adapter and turn on both your TV and the MAG box. Use your TV remote to select the correct HDMI input source. You should see the MAG box boot up, which takes about 30 seconds to a minute on first startup.
The next crucial step is getting the device connected to your internet. You’ve got two options here: wired Ethernet (which is more stable and recommended) or Wi-Fi. For Ethernet, just plug a network cable from your router into the MAG box’s Ethernet port—it’ll automatically detect the connection in most cases.
If you’re going wireless, you’ll need to navigate to the network settings through the MAG box menu system and enter your Wi-Fi password. The interface will guide you through selecting your network and authenticating.
Configuring the Portal URL
This is where the magic happens. Once your MAG box is connected to the internet and powered on, you’ll see the main portal screen appear. Look for a button on your remote labeled “SETUP” or “SET”—press it to access the settings menu.
Navigate to “System Settings” using the directional buttons on your remote, then select “Servers”. You’ll see an option for “Portals”—click into that section.
Here’s where you’ll enter the information your IPTV provider gave you. In the “Portal 1 Name” field, you can enter whatever name you want—this is just a label for your reference, so something like “My IPTV” or your provider’s name works fine.
The “Portal 1 URL” field is the critical one. Your iptv service provider should have sent you this URL via email or displayed it in your customer dashboard. It usually looks something like “http://portal.example.com/c/” or similar. Copy and paste this exactly as provided—don’t add extra spaces, don’t miss any characters, and don’t modify it in any way.
Some MAG boxes support multiple portals, which is handy if you have subscriptions from different providers. You’d simply repeat the process in the “Portal 2 Name” and “Portal 2 URL” fields if needed. Most users only need to configure Portal 1, though.
Saving Settings and Rebooting
After you’ve entered your portal information, press the “OK” button on your remote to save these changes. Don’t just exit out—you need to confirm the save action or your settings won’t stick.
Next, press “EXIT” on your remote to back out to the previous menu. At this point, the system will prompt you to reboot the device for the changes to take effect. Select “OK” or “Reboot” to restart the MAG box.
The reboot process takes about 30-60 seconds. You can also manually reboot by unplugging the power cable, waiting ten seconds, and plugging it back in. Either method works fine.
First Launch and Channel Loading
After the reboot completes, your MAG box will automatically attempt to load the portal you configured. If everything’s set up correctly, you should see your IPTV provider’s interface appear on screen, displaying categories like Live TV, Movies, TV Shows, and Sports.
The initial channel list import might take a minute or two, especially if your iptv subscription includes thousands of channels. You’ll typically see a loading indicator while the device fetches the channel lineup from the server. Be patient—don’t restart the box or fiddle with settings during this process.
Once loading is complete, you can navigate through the menu using your MAG remote. The interface varies slightly depending on your IPTV provider, but most follow a similar layout with channel categories on the left and content listings on the right.
Optional Network Time Protocol Setup
This is an extra step that some users find helpful for maintaining accurate time stamps in the program guide. If you’re in North America and notice your EPG times are off, you can manually configure the NTP server.
Go back to System Settings, then look for “General” or “Time Settings”. In the “NTP Server” field, enter either “pool.ntp.org” or “us.pool.ntp.org” for United States-based time synchronization. Press “OK” to save, then exit back to the main menu.
This ensures your MAG box displays correct program times and helps with catch-up TV features if your provider offers them.
Choosing the Right IPTV Service
Your MAG box’s performance is only as good as your iptv service provider. These devices are remarkably reliable hardware-wise, but a low-quality subscription will still result in buffering, channel dropouts, and poor picture quality.
Look for providers that explicitly support MAG devices—most reputable services list MAG compatibility right on their website. Features to prioritize include HD or 4K streaming support, comprehensive EPG data, catch-up TV functionality, and responsive customer support.
Some well-regarded options include services like Viking IPTV and XtremeHD IPTV, both of which specifically advertise MAG box compatibility and offer thousands of channels with reliable streaming. Always start with a trial period if the provider offers one—24-hour trials are common and give you a chance to test stability before committing to a longer subscription.
Avoid providers that promise ridiculous numbers like “50,000 channels for $5 a month.” If it sounds too good to be true, it probably is. Legitimate IPTV services typically charge $10-30 monthly depending on the channel package and features included.
Troubleshooting Common Setup Issues
Even following the instructions perfectly, you might encounter a few hiccups. Let’s tackle the most frequent problems.
If you’re seeing a “No Signal” message on your TV, double-check that you’ve selected the correct HDMI input. Most modern TVs have multiple HDMI ports, and it’s easy to be on HDMI 1 when your MAG box is connected to HDMI 2. Also verify that all cables are firmly seated—loose connections cause intermittent signal loss.
Portal loading failures usually mean there’s an issue with the URL you entered. Go back into the portal settings and carefully verify every character matches what your provider gave you. Even a single typo will prevent the connection. Also confirm your IPTV subscription is actually active—expired subscriptions won’t allow portal access.
If the box keeps asking you to log in with username and password, that’s actually an error message in disguise. MAG boxes don’t use traditional login credentials—they authenticate via MAC address only. This prompt means your MAC address isn’t properly registered with your provider’s server. Contact your IPTV service and verify they’ve activated your specific MAC address.
Network connection problems on Wi-Fi are usually password-related. Re-enter your Wi-Fi credentials carefully, paying attention to uppercase/lowercase letters and special characters. If possible, position your MAG box closer to your router or switch to a wired Ethernet connection for more reliable performance.
Switching Between Multiple Portals
If you’ve configured more than one portal on your MAG box, switching between them is simple. Press the “Home” button on your remote multiple times until you see the portal selection screen.
This screen displays all your configured portals by name, along with options for “Embedded Portal” and “System Settings”. Use the directional buttons to highlight the portal you want to load, then press “OK” to activate it.
The MAG box will restart the portal interface, which takes about 10-15 seconds. This feature is particularly handy if you maintain separate subscriptions for, say, local channels and international content from different providers.
Maintaining Your Setup
Once everything’s working, there’s not much ongoing maintenance required. MAG boxes are pretty hands-off compared to more complex streaming devices. However, occasionally your IPTV provider might update their portal URL or server settings.
If your channels suddenly stop working and you haven’t changed anything, check your email for notifications from your provider. They should alert you to any portal URL changes. Simply repeat the configuration process with the new URL they provide.
Some providers also push firmware updates to MAG boxes remotely. These updates happen automatically in the background and typically don’t require any action on your part. If you notice the box updating during startup, just let it complete—don’t unplug the device mid-update as this can cause software corruption.
Keep your internet connection stable and fast. IPTV streaming requires consistent bandwidth—aim for at least 10-15 Mbps for HD content and 25+ Mbps if you’re streaming 4K channels. Wired Ethernet connections remain the gold standard for reliability.

